Vanilla Custard Cream Squares Recipe
Introduction
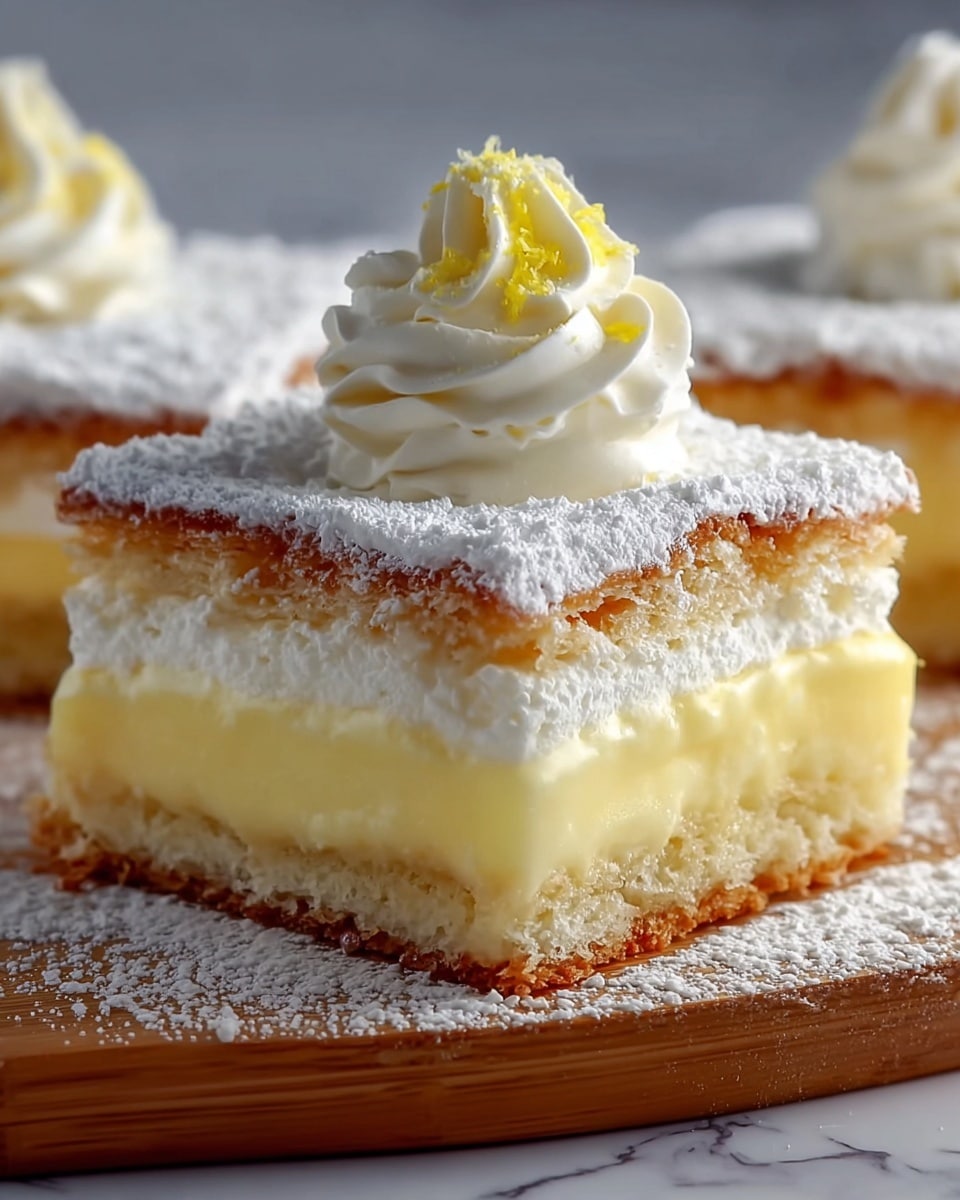
Vanilla Custard Cream Squares are a luscious and comforting dessert that combines a buttery shortbread crust with a smooth, rich vanilla custard. This elegant treat is perfect for any occasion and delightfully simple to make at home.
Ingredients
- 1 1/2 cups all-purpose flour
- 1/4 cup granulated sugar (for crust)
- 1/2 cup unsalted butter, cold and cubed
- 1/4 teaspoon salt
- 2 cups whole milk
- 1 cup heavy cream
- 1/2 cup granulated sugar (for custard)
- 3 large egg yolks
- 2 tablespoons cornstarch
- 1 vanilla bean, split and seeds scraped
- 1/2 teaspoon lemon zest (optional)
- Powdered sugar, for dusting
Instructions
- Step 1: Prepare the shortbread crust by pulsing the flour, 1/4 cup sugar, and salt in a food processor until combined. Add the cold butter cubes and pulse until the mixture resembles coarse crumbs.
- Step 2: Transfer the dough to a bowl, press evenly into a 9-inch square pan, and prick the surface with a fork.
- Step 3: Preheat the oven to 350°F (175°C). Line the crust with parchment paper and fill with pie weights or dried beans. Bake for 12–15 minutes until the edges are pale golden. Remove weights and parchment, then let cool.
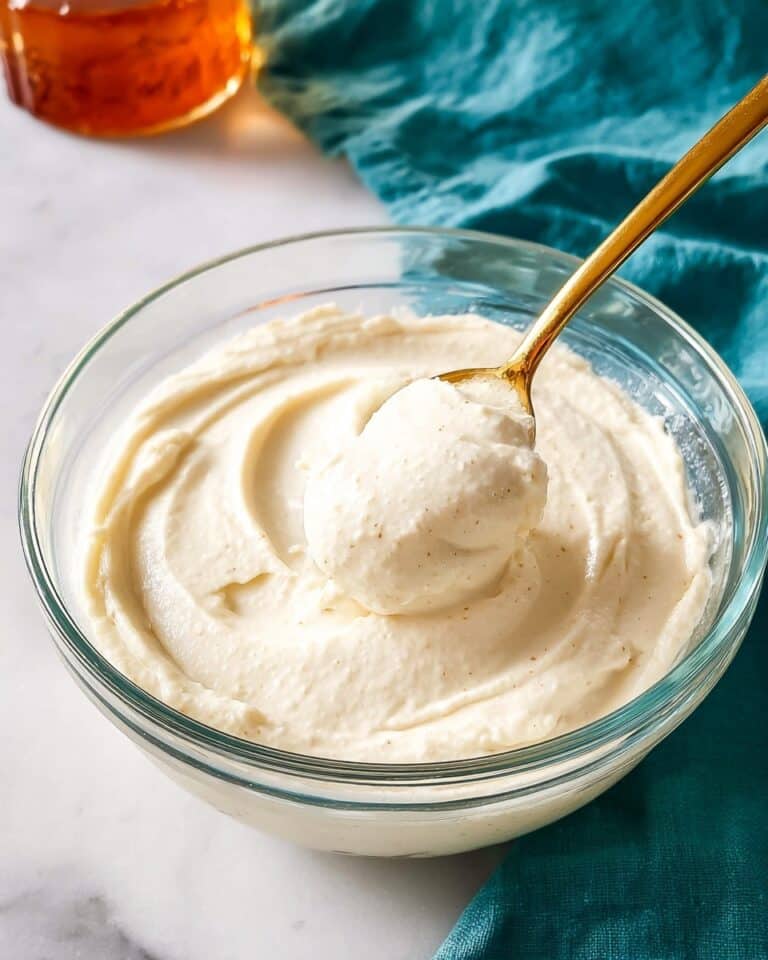
- Step 4: In a saucepan, combine milk, heavy cream, vanilla seeds, and lemon zest. Heat gently until just simmering.
- Step 5: Whisk together 1/2 cup sugar, egg yolks, and cornstarch in a bowl until smooth. Temper the mixture by slowly whisking in a ladle of the warm milk mixture, then return everything to the saucepan.
- Step 6: Cook over medium heat, stirring constantly until the custard thickens and coats the back of a spoon, about 4–5 minutes. Strain through a fine-mesh sieve.
- Step 7: Pour the warm custard over the pre-baked crust, spreading evenly. Bake for 15–18 minutes until set but slightly wobbly in the center.
- Step 8: Remove from oven and cool to room temperature. Refrigerate for at least 2 hours to fully set.
- Step 9: Dust the chilled squares with powdered sugar just before serving. Use a warm, sharp knife to cut into twelve squares. Serve plain or with fresh berries, chocolate ganache, or caramel drizzle if desired.
Tips & Variations
- For a richer flavor, substitute half the milk with cream in the custard.
- Use vanilla extract if you don’t have a vanilla bean, though fresh seeds give the best aroma.
- Add a pinch of nutmeg or cinnamon to the crust for a warm spice note.
- Blind-bake the crust thoroughly to prevent sogginess under the custard layer.
Storage
Store the custard squares in an airtight container in the refrigerator for up to 3 days. Reheat gently in a low oven before serving if you prefer them warm, or enjoy straight from the fridge. Avoid freezing as the custard texture may be affected.
How to Serve
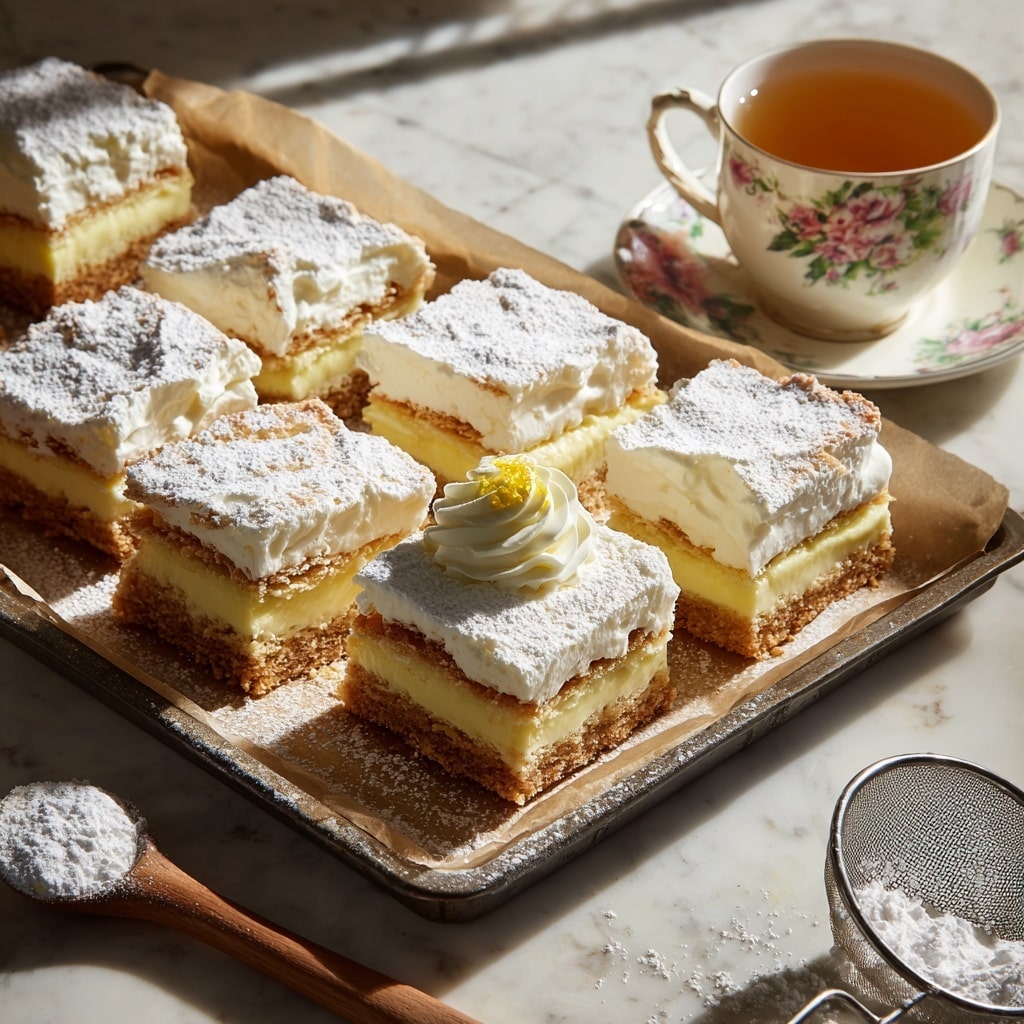
Serve this delicious recipe with your favorite sides.
FAQs
Can I make the crust in advance?
Yes, you can blind-bake the crust a day ahead and keep it covered at room temperature. Add the custard and bake on the day you want to serve.
How do I prevent the custard from curdling?
Tempering the egg yolks by slowly whisking in some hot milk before combining everything back in the saucepan helps prevent curdling. Also, cook the custard over medium heat and stir constantly until thickened.
PrintVanilla Custard Cream Squares Recipe

Vanilla Custard Cream Squares combine a buttery shortbread crust with a rich, creamy vanilla custard filling for a delightful dessert that’s perfect for any occasion. This recipe features a pre-baked crust topped with a smooth custard infused with real vanilla bean and a hint of lemon zest, baked until just set and chilled to perfection.
- Prep Time: 20 minutes
- Cook Time: 35 minutes
- Total Time: 2 hours 55 minutes
- Yield: 12 squares 1x
- Category: Dessert
- Method: Baking
- Cuisine: American
Ingredients
Shortbread Crust
- 1 1/2 cups all-purpose flour
- 1/4 cup granulated sugar
- 1/4 teaspoon salt
- 1/2 cup unsalted butter, cold and cubed
Vanilla Custard
- 2 cups whole milk
- 1 cup heavy cream
- 1/2 cup granulated sugar
- 3 large egg yolks
- 2 tablespoons cornstarch
- 1 vanilla bean, split and seeds scraped
- 1/2 teaspoon lemon zest (optional)
Finishing
- Powdered sugar, for dusting
Instructions
- Prepare the shortbread crust: In a food processor, pulse together the flour, 1/4 cup granulated sugar, and salt until combined. Add the cold cubed butter and pulse until the mixture resembles coarse crumbs. Transfer the dough to a bowl, then press it evenly into a 9-inch square baking pan. Prick the surface of the dough with a fork to prevent bubbling.
- Blind-bake the crust: Preheat your oven to 350°F (175°C). Line the crust with parchment paper and fill with pie weights or dried beans to keep the crust flat. Bake for 12-15 minutes until the edges are pale golden. Remove the weights and parchment, then let the crust cool while preparing the custard.
- Make the vanilla custard: In a medium saucepan, combine the milk, heavy cream, vanilla bean seeds, and lemon zest. Heat over medium heat until just starting to simmer. Meanwhile, whisk the 1/2 cup granulated sugar, egg yolks, and cornstarch together in a bowl until smooth. Slowly temper the egg mixture by whisking in a ladle of the hot milk mixture to warm the yolks. Then, return everything to the saucepan. Cook the custard over medium heat, stirring constantly until it thickens and coats the back of a spoon, about 4-5 minutes. Strain the custard through a fine mesh sieve to ensure it’s silky smooth.
- Bake the custard set: Pour the warm custard evenly over the pre-baked shortbread crust. Return the pan to the oven and bake for 15-18 minutes, until the custard is set but still slightly wobbly in the center. Remove from the oven and allow it to cool to room temperature before chilling.
- Chill and finish the dessert: Refrigerate the custard squares for at least 2 hours to fully set. Just before serving, dust the top with powdered sugar. Use a warm sharp knife to cut the dessert into twelve even squares. Serve plain or garnish with fresh berries, a drizzle of chocolate ganache, or caramel sauce as desired.
Notes
- Using real vanilla bean seeds gives the custard a rich and authentic vanilla flavor. If unavailable, substitute with 1 to 2 teaspoons of pure vanilla extract added during heating.
- Lemon zest is optional but adds a delicate brightness to balance the richness of the custard.
- Pressing the crust firmly and pricking it prevents bubbling and ensures an even bake.
- Chilling the dessert for at least 2 hours is important to allow the custard to firm up completely for clean slicing.
- Use a warm knife to cut the squares cleanly without cracking the custard.
- Store leftovers refrigerated in an airtight container for up to 3 days.
Keywords: vanilla custard squares, shortbread custard dessert, custard bars, vanilla cream dessert, baked custard squares