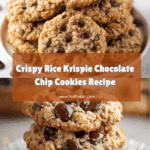
Rice Krispie Chocolate Chip Cookies Recipe
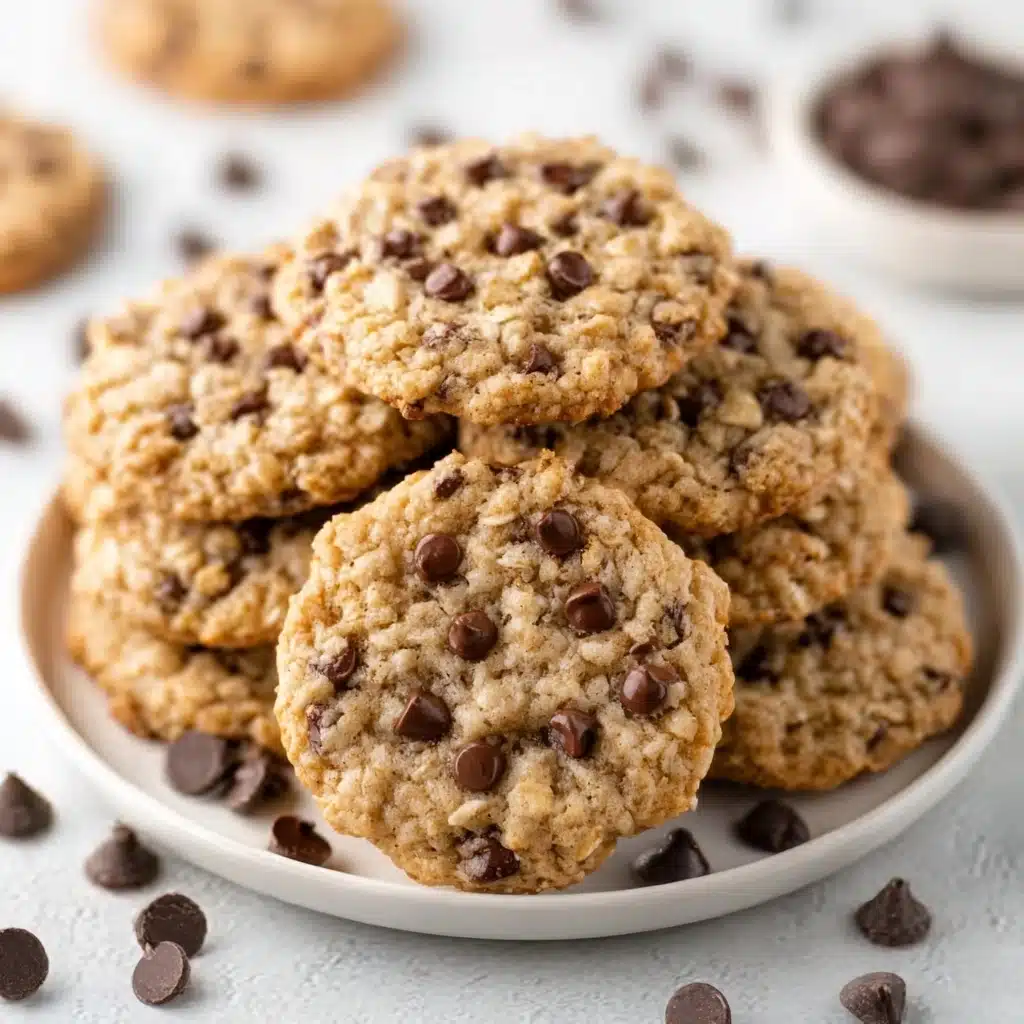
If you have ever dreamed of a cookie that perfectly balances crispy crunch, chewy decadence, and a touch of whimsy, then allow me to introduce you to the magic of Rice Krispie Chocolate Chip Cookies. These treats are an absolute delight, combining the nostalgic crunch of Rice Krispies cereal with the timeless goodness of semi-sweet chocolate chips. With a tender, buttery base and a crispy outer crust coated in crunchy cereal, every bite brings a symphony of textures and flavors that’s impossible to resist. Whether for an after-school snack, an indulgent dessert, or a sharing cookie at your next gathering, these cookies are a showstopper you’ll want to make again and again.
Ingredients You’ll Need
The beauty of this recipe lies in how straightforward the ingredients are—all pantry staples that together create a truly extraordinary cookie. Each contributes something special, whether it’s the creamy richness of butter, the sweet burst of chocolate chips, or the irresistible crunch of Rice Krispies.
- 1 cup unsalted butter: Softened to room temperature for perfect creaming and a rich, tender crumb.
- 1 cup granulated sugar: Adds sweetness and helps achieve that light, fluffy texture in the dough.
- 2 large eggs: Bind the ingredients and add moisture, creating a perfect chewy center.
- 2 teaspoons pure vanilla extract: Enhances all the flavors with warm, aromatic depth.
- 2 ½ cups all-purpose flour: Forms the structure, ensuring the cookies hold together just right.
- 1 teaspoon baking soda: Leavens the dough for a soft yet slightly puffed texture.
- ½ teaspoon salt: Balances sweetness and enhances the overall flavor.
- 1 12 oz bag semi-sweet chocolate chips: The star bursts of gooey chocolate in every bite.
- 3 ½ cups Rice Krispies cereal: Provides that signature crispy coating that makes these cookies unique.
How to Make Rice Krispie Chocolate Chip Cookies
Step 1: Preheat the Oven
Start by heating your oven to 325°F (163°C) and position the rack in the center. Even heat distribution is key for these cookies to bake beautifully and achieve that perfect golden color on the crispy Rice Krispie coating.
Step 2: Cream Butter and Sugar
Using a stand mixer with the paddle attachment or a handheld mixer, beat the softened butter and granulated sugar on medium speed. This step is crucial as it incorporates air into the mixture, creating a light and fluffy texture which sets the stage for tender cookies. Beat for about 2 to 3 minutes until the mixture looks pale and creamy.
Step 3: Incorporate Eggs and Vanilla
Add the eggs one at a time, mixing well after each addition to ensure they’re fully blended. Then pour in the vanilla extract, giving your batter that warm, inviting aroma that immediately makes you crave a bite.
Step 4: Mix Dry Ingredients
In a separate bowl, whisk together all-purpose flour, baking soda, and salt. This ensures the leavening agent and salt are evenly distributed. Gradually add this dry mix to your wet ingredients in three parts. Mix on low speed just until combined to avoid overworking the dough, which can make your cookies tough.
Step 5: Fold in Chocolate Chips
Now for the best part—fold in all those luscious semi-sweet chocolate chips with a spatula or wooden spoon. You want to gently incorporate them without smashing the chips or overmixing the dough, so every morsel stays intact and gooey after baking.
Step 6: Coat with Rice Krispies
Pour the Rice Krispies into a shallow bowl. Using a cookie scoop or tablespoon, shape the dough into uniform balls. Roll each one in the cereal, pressing slightly so the crispy rice sticks well, giving your cookies that wonderful textured outer layer that adds so much crunch and visual appeal.
Step 7: Arrange and Bake
On parchment-lined baking sheets, place the coated dough balls about 2 inches apart. Give each a light press to slightly flatten. Bake for 23 to 25 minutes, or until the edges are set and the cereal looks beautifully golden. Keep an eye in the last minutes so they don’t overbrown.
Step 8: Cool and Serve
Once baked, let the cookies rest on the pan for 5 minutes before transferring them to a wire rack to cool completely. This helps them firm up and keeps the cereal coating crisp and delightful.
How to Serve Rice Krispie Chocolate Chip Cookies

Garnishes
For a fun twist, sprinkle a tiny pinch of flaky sea salt on top right after baking to balance the sweetness and enhance the chocolate flavor. You can also drizzle melted white chocolate or caramel for an elegant touch that will wow your guests.
Side Dishes
These cookies pair wonderfully with a cold glass of milk or a cup of rich coffee or hot cocoa, making them perfect for cozy afternoons or dessert plates. For a brunch or party spread, serve alongside fresh berries or a creamy vanilla yogurt for a delightful contrast.
Creative Ways to Present
Try stacking these cookies with scoops of vanilla or chocolate ice cream between them for homemade ice cream sandwiches. Alternatively, create a cookie platter with a mix of these and other favorite cookies to impress at gatherings or bake sales with their unique crispy texture and charming appearance.
Make Ahead and Storage
Storing Leftovers
Store your Rice Krispie Chocolate Chip Cookies in an airtight container at room temperature to keep their crunchy coating crisp and the insides tender. They’re best enjoyed within 3-4 days for optimal freshness and texture.
Freezing
If you want to make these cookies in advance, freeze the dough balls rolled in Rice Krispies on a baking sheet until solid. Then store them in a freezer-safe bag or container for up to 3 months. Bake from frozen, adding a couple extra minutes to the baking time for perfect results.
Reheating
Warm cookies in a low oven at 300°F for 3-5 minutes before serving to revive their crisp exterior and soften the chocolate chips slightly. Avoid microwaving if you want to keep the coating crunchy, as it can get soggy quickly.
FAQs
Can I use a different cereal instead of Rice Krispies?
Absolutely! While Rice Krispies give the signature light crunch, puffed wheat or cornflakes can be fun alternatives for a different texture. Just remember to choose cereals that stay crisp during baking.
Are these cookies gluten-free?
The recipe as written uses all-purpose flour, which contains gluten. However, you can experiment with a gluten-free flour blend that measures cup-for-cup to make these cookies gluten-free-friendly.
Can I substitute the chocolate chips for another mix-in?
Yes! Chopped nuts, white chocolate chips, or dried fruit can all work well. Just fold your chosen ingredient in gently to maintain that perfect cookie texture.
Why do the cookies need to be baked at 325°F?
Lower oven heat ensures the cookies bake evenly without burning the cereal coating before the centers are fully cooked. It helps achieve that ideal crispy outside with a soft, chewy interior.
How can I make these cookies more festive for holidays?
Add colored sprinkles to the Rice Krispie coating before baking, or mix in peppermint extract and crushed candy canes for a holiday twist. Drizzling festive icing on top after cooling is another fun idea.
Final Thoughts
These Rice Krispie Chocolate Chip Cookies are an absolute joy to make and even more delightful to eat. Their unique texture and classic flavor combo make them a standout treat that will quickly become a beloved favorite. I cannot wait for you to bake your first batch and discover just how irresistible these cookies truly are—happy baking!
PrintRice Krispie Chocolate Chip Cookies Recipe

These Rice Krispie Chocolate Chip Cookies combine the classic crunch of Rice Krispies cereal with rich semi-sweet chocolate chips for a delightful twist on traditional chocolate chip cookies. Perfectly soft and chewy with a crispy exterior, they make a delicious treat for any occasion.
- Prep Time: 15 minutes
- Cook Time: 25 minutes
- Total Time: 40 minutes
- Yield: About 24 cookies 1x
- Category: Dessert, Snack
- Method: Baking
- Cuisine: American
- Diet: Vegetarian
Ingredients
Wet Ingredients
- 1 cup (225g) unsalted butter, softened to room temperature
- 1 cup (200g) granulated sugar
- 2 large eggs
- 2 teaspoons (10mL) pure vanilla extract
Dry Ingredients
- 2 ½ cups (315g) all-purpose flour
- 1 teaspoon (5g) baking soda
- ½ teaspoon (3g) salt
Add-ins and Coating
- 1 12 oz / 340g bag semi-sweet chocolate chips
- 3 ½ cups (90g) Rice Krispies cereal
Instructions
- Preheat the Oven: Begin by preheating your oven to 325°F (163°C). Ensure the oven rack is positioned in the center for even baking.
- Cream Butter and Sugar: In the bowl of a stand mixer fitted with the paddle attachment, or using a handheld mixer, cream together the softened butter and granulated sugar on medium speed until the mixture becomes light and fluffy, approximately 2-3 minutes.
- Incorporate Eggs and Vanilla: Add the eggs one at a time, beating well after each addition to ensure they are fully incorporated. Follow by mixing in the vanilla extract until the mixture is smooth and uniform.
- Combine Dry Ingredients: In a separate mixing bowl, whisk together the all-purpose flour, baking soda, and salt until thoroughly combined. Gradually add the dry ingredients to the butter mixture in three additions, mixing on low speed after each addition until just combined. Avoid overmixing to prevent a dense texture.
- Fold in Chocolate Chips: Using a spatula or wooden spoon, gently fold in the semi-sweet chocolate chips until they are evenly distributed throughout the dough.
- Coat with Rice Krispies: Pour the Rice Krispies cereal into a shallow bowl. Using a cookie scoop or tablespoon, portion the dough into uniform balls. Roll each dough ball in the Rice Krispies, pressing lightly to ensure the cereal adheres to the surface.
- Arrange and Bake: Place the coated dough balls onto parchment-lined baking sheets, spacing them approximately 2 inches apart to allow for spreading. Lightly press down on each dough ball to slightly flatten it. Bake in the preheated oven for 23-25 minutes, or until the edges are set and the cereal coating is a light golden brown. Monitor the cookies closely during the final minutes to prevent overbrowning.
- Cool and Serve: Remove the cookies from the oven and allow them to cool on the baking sheet for 5 minutes. Transfer the cookies to a wire rack to cool completely before serving. Store any leftovers in an airtight container to maintain freshness.
Notes
- Ensure the butter is softened to room temperature for easier creaming with sugar.
- Do not overmix when combining wet and dry ingredients to keep cookies tender.
- Press the dough balls gently when placing on the baking sheet to help them spread evenly.
- Watch cookies closely towards the end of baking as the Rice Krispies can brown quickly.
- Store cookies in an airtight container at room temperature for up to 5 days.
- For a gluten-free version, substitute all-purpose flour with a gluten-free flour blend.
Nutrition
- Serving Size: 1 cookie (approx. 40g)
- Calories: 180 kcal
- Sugar: 14 g
- Sodium: 120 mg
- Fat: 9 g
- Saturated Fat: 5 g
- Unsaturated Fat: 3 g
- Trans Fat: 0 g
- Carbohydrates: 22 g
- Fiber: 1 g
- Protein: 2 g
- Cholesterol: 30 mg
Keywords: Rice Krispie cookies, chocolate chip cookies, crunchy cookies, easy cookie recipe, baked treats, semi-sweet chocolate chip cookies