Herby Garlic Seasoned Rice Recipe
Introduction
This herby garlic seasoned rice is a simple yet flavorful side dish that pairs well with a variety of meals. Infused with fresh herbs and garlic, it turns plain rice into a savory delight in just a few easy steps.
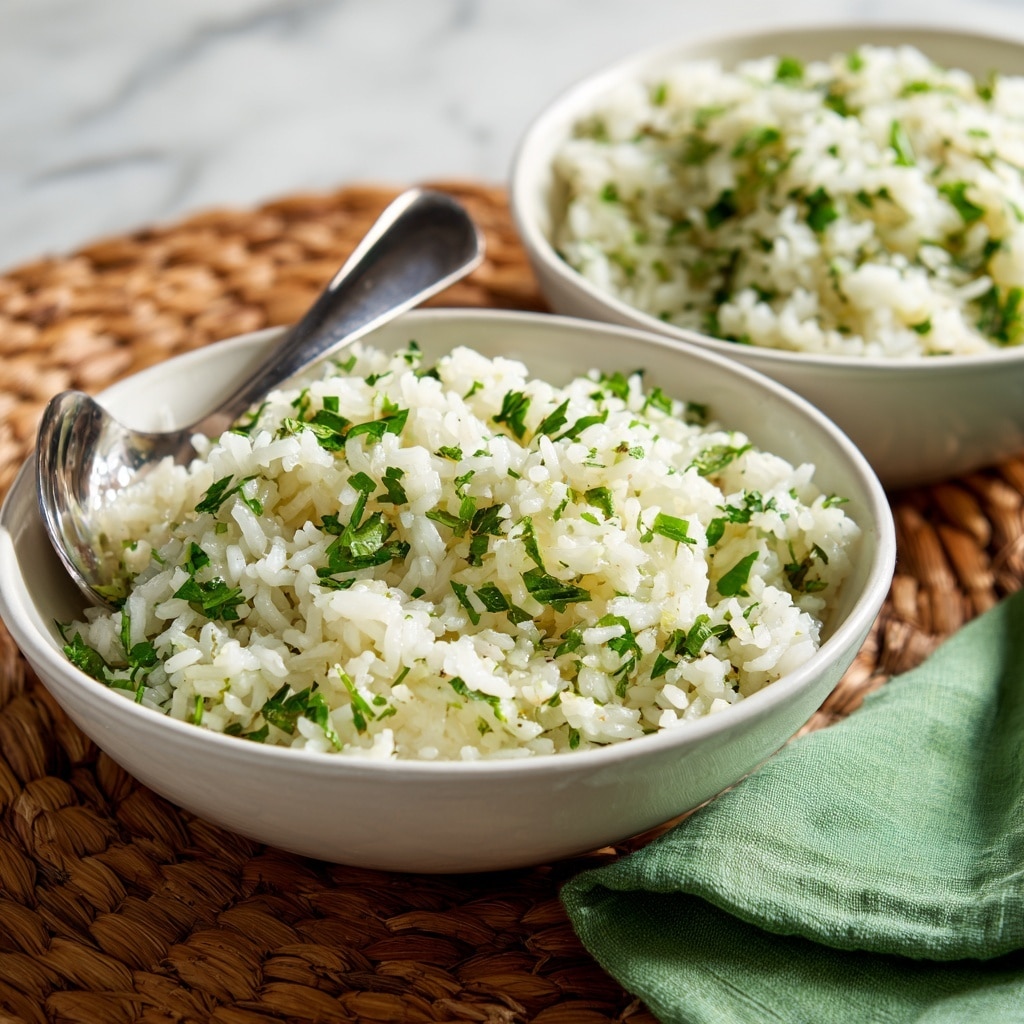
Ingredients
- 1 cup (190g) of uncooked long grain rice, rinsed
- Low calorie spray
- 2 teaspoons of minced garlic (or 2 cloves, crushed)
- 2 cups (480ml) of chicken or vegetable stock
- 1 ½ tablespoons of finely chopped coriander
- 1 ½ tablespoons of finely chopped parsley
- Pinch of black pepper
Instructions
- Step 1: Spray a deep saucepan with low-calorie spray to prevent sticking.
- Step 2: Add the minced garlic to the saucepan and fry for about a minute to release its flavor.
- Step 3: Add the rinsed rice and fry until the grains become slightly translucent.
- Step 4: Pour in the chicken or vegetable stock, then stir in the parsley, coriander, and a pinch of black pepper. Bring the mixture to a boil.
- Step 5: Once boiling, cover the saucepan and reduce the heat to a simmer. Cook for 13 minutes or until the stock is almost absorbed.
- Step 6: Turn off the heat but keep the lid on for an additional 10 minutes to allow the rice to steam and fully cook.
- Step 7: Remove the lid and fluff the rice gently with a fork to separate the grains.
- Step 8: Serve warm and enjoy your herby garlic seasoned rice.
Tips & Variations
- For extra flavor, lightly toast the rice in the pan before adding the stock.
- You can substitute the coriander with fresh basil or chives for a different herbal note.
- Use vegetable stock to keep the dish vegetarian-friendly without sacrificing taste.
- Add a squeeze of fresh lemon juice after cooking for a bright finish.
Storage
Store any leftover rice in an airtight container in the refrigerator for up to 3 days. To reheat, sprinkle a little water over the rice and microwave or warm it on the stove until heated through, fluffing again before serving.
How to Serve
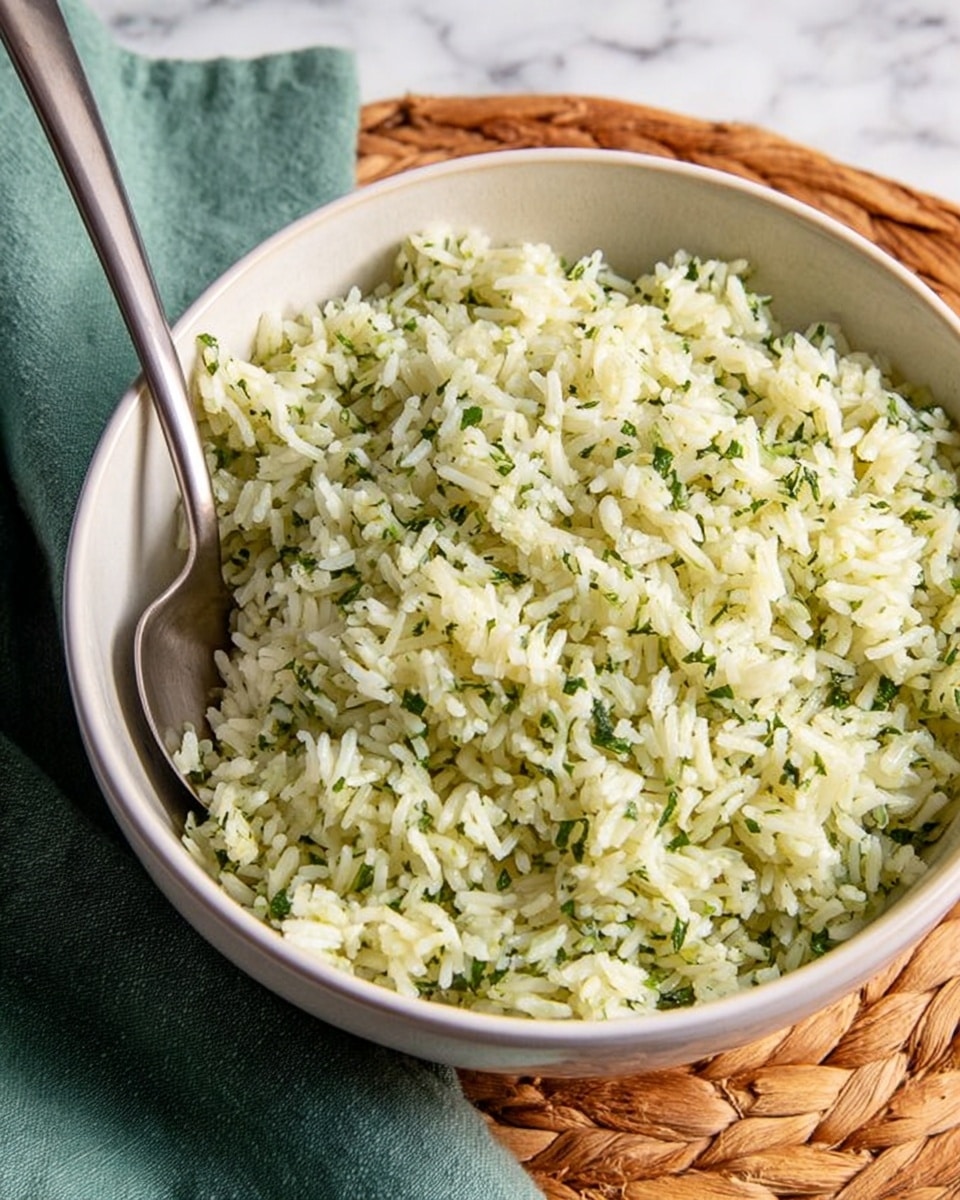
Serve this delicious recipe with your favorite sides.
FAQs
Can I use brown rice instead of long grain white rice?
Yes, but brown rice requires a longer cooking time and more liquid, so adjust the cooking time accordingly and use about 2 ½ cups of stock.
What if I don’t have fresh herbs on hand?
Dried herbs can be used as a substitute, but reduce the quantity by half since dried herbs have a more concentrated flavor. Add them when you add the stock.
PrintHerby Garlic Seasoned Rice Recipe
This Herby Garlic Seasoned Rice recipe offers a flavorful and aromatic side dish featuring long grain rice infused with garlic, fresh coriander, and parsley. Cooked in chicken or vegetable stock, this dish is light, fragrant, and perfect to accompany a variety of main courses.
- Prep Time: 5 minutes
- Cook Time: 23 minutes
- Total Time: 28 minutes
- Yield: 4 servings 1x
- Category: Side Dish
- Method: Stovetop
- Cuisine: International
- Diet: Low Calorie
Ingredients
Rice and Seasoning
- 1 cup (190g) uncooked long grain rice, rinsed
- 2 teaspoons minced garlic (or 2 cloves, crushed)
- 1 ½ tablespoons finely chopped coriander
- 1 ½ tablespoons finely chopped parsley
- Pinch of black pepper
Cooking Liquid
- 2 cups (480ml) chicken or vegetable stock
Other
- Low-calorie spray
Instructions
- Prepare the saucepan: Spray a deep saucepan with low-calorie spray to prevent sticking and aid with frying.
- Infuse the garlic: Add the minced garlic to the saucepan and fry for about a minute over medium heat, allowing the garlic flavor to infuse the cooking surface.
- Cook the rice: Add the rinsed rice to the saucepan and fry it until the rice grains become slightly translucent, which will help enhance its texture.
- Add liquids and herbs: Pour in the chicken or vegetable stock along with the chopped parsley, coriander, and a pinch of black pepper. Bring the mixture to a boil over high heat.
- Simmer the rice: Once boiling, cover the saucepan with a lid, reduce the heat to low, and let it simmer for about 13 minutes until the stock is almost fully absorbed by the rice.
- Steam the rice: Turn off the heat but keep the saucepan covered for an additional 10 minutes. The trapped steam will continue gently cooking the rice, ensuring it is tender and fluffy.
- Fluff and serve: After 10 minutes, remove the lid and fluff the rice gently with a fork to separate the grains and release steam.
- Serve: Your herby garlic seasoned rice is now ready to be enjoyed as a delicious side dish.
Notes
- Rinsing the rice before cooking helps remove excess starch and prevents it from becoming sticky.
- You can substitute fresh coriander and parsley with dried herbs if fresh ones are unavailable, but reduce the quantity by half.
- Use vegetable stock to make this dish vegetarian or vegan.
- Adjust the garlic quantity to taste, especially if you prefer a milder or stronger garlic flavor.
- For a nuttier flavor, you can toast the rice in the dry pan before adding the stock, but this is optional.
Keywords: Herby rice, Garlic rice, Seasoned rice, Side dish, Easy rice recipe, Long grain rice, Quick rice recipe


