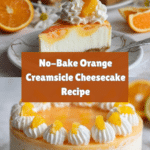
No-Bake Orange Creamsicle Cheesecake Recipe
Introduction
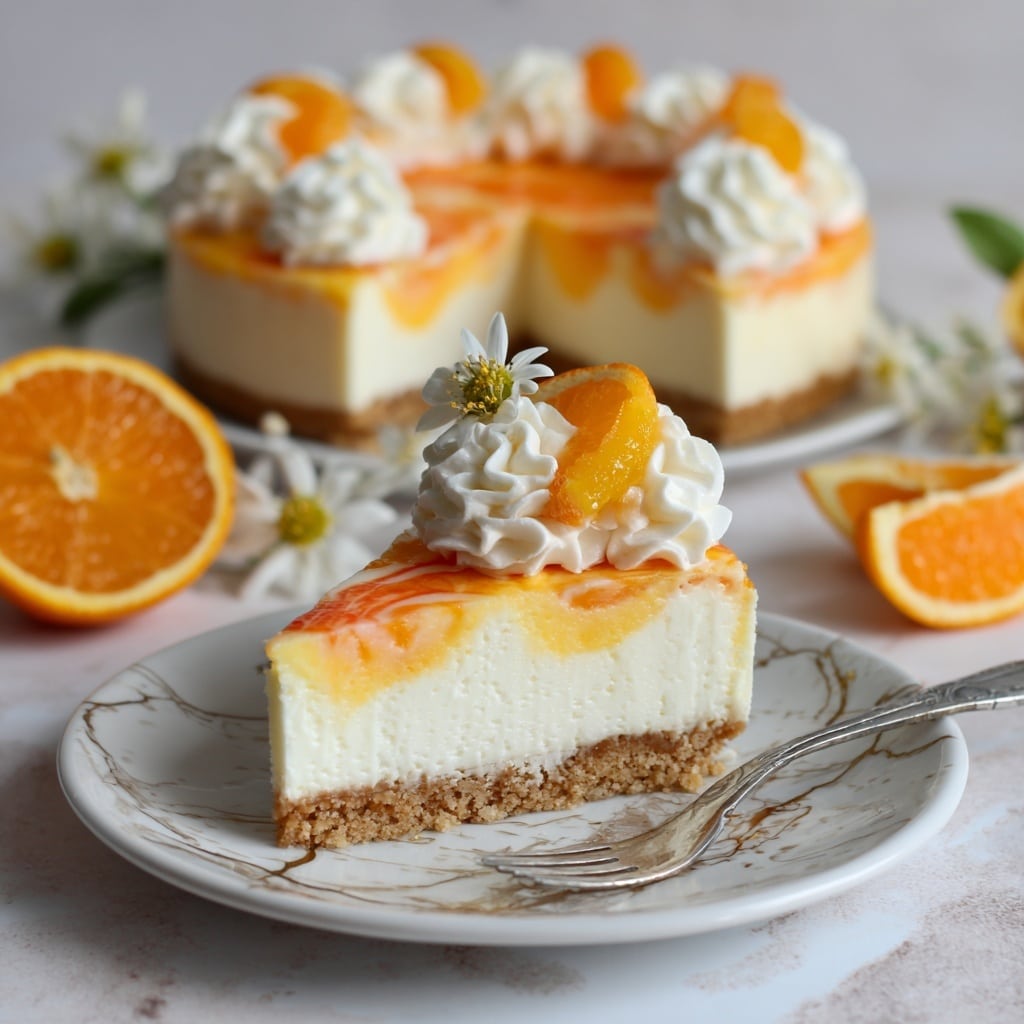
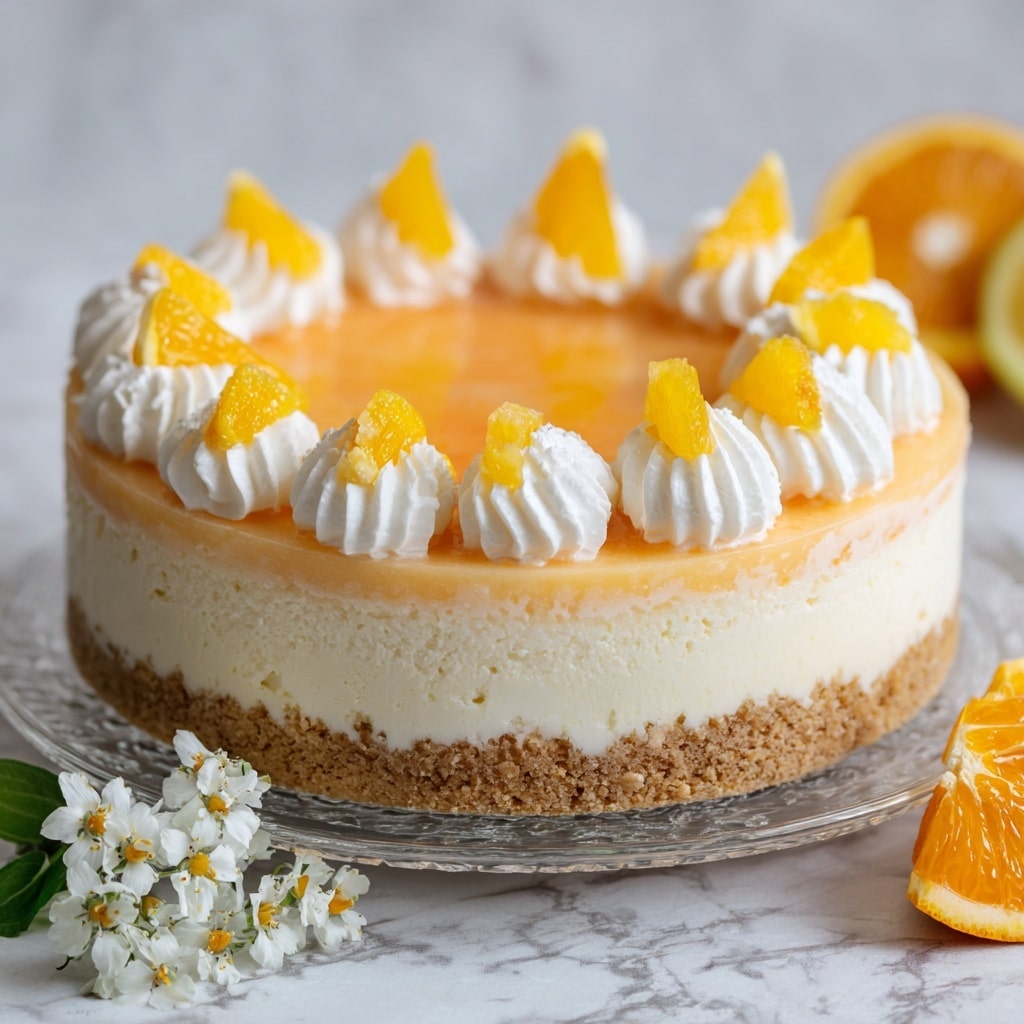
This no-bake orange creamsicle cheesecake is a bright and creamy dessert that captures the nostalgic flavor of a classic creamsicle. Smooth cream cheese and fresh orange juice combine for a refreshing treat that’s perfect any time of year.
Ingredients
- 200 g (2 cups) graham cracker crumbs or digestive biscuits
- 75 g (5 tbsp) melted butter
- 2 tbsp granulated sugar
- 500 g (2 cups) cream cheese, softened
- 1 cup powdered sugar
- 1 cup heavy whipping cream, chilled
- 1/3 cup fresh orange juice
- Zest of 1 orange
- 1 tsp vanilla extract
- 1/2 tsp orange extract (optional)
- Orange food coloring (optional)
- Whipped cream, for garnish
- Orange zest or slices, for garnish
Instructions
- Step 1: In a bowl, combine graham cracker crumbs, melted butter, and granulated sugar. Mix until the texture resembles wet sand.
- Step 2: Press the crumb mixture firmly into the bottom of a 9-inch springform pan, creating an even layer. Refrigerate to chill while preparing the filling.
- Step 3: Beat the softened cream cheese in a large bowl until smooth and creamy. Gradually add powdered sugar and mix until well combined.
- Step 4: Slowly add fresh orange juice, orange zest, vanilla extract, and orange extract if using. Mix just until combined to maintain a bright citrus flavor.
- Step 5: In a separate chilled bowl, whip heavy cream until stiff peaks form.
- Step 6: Gently fold the whipped cream into the cream cheese mixture to keep it light and airy. Add orange food coloring if desired, folding to distribute color evenly.
- Step 7: Pour the filling over the chilled crust and smooth the surface with a spatula. Cover tightly with plastic wrap.
- Step 8: Refrigerate the cheesecake for at least 6–8 hours or overnight to set and develop flavor.
- Step 9: Remove from the springform pan carefully. Garnish with whipped cream and fresh orange zest or slices before serving chilled.
Tips & Variations
- Use digestive biscuits for a slightly different flavor and texture in the crust.
- For a more vibrant orange flavor, add a bit more orange extract or zest to the filling.
- If you prefer a firmer crust, bake the crumb base at 350°F (175°C) for 8 minutes before chilling.
- Swap orange juice for mandarin or tangerine juice for a sweeter twist.
Storage
Store the cheesecake in the refrigerator covered for up to 3 days. For longer storage, freeze portions wrapped tightly for up to 1 month. Thaw in the refrigerator before serving. Avoid leaving it at room temperature for extended periods to keep the texture and flavor fresh.
How to Serve
Serve this delicious recipe with your favorite sides.
FAQs
Can I use frozen orange juice for this recipe?
Fresh orange juice is best for vibrant flavor, but thawed frozen juice can be used in a pinch. Make sure it’s well strained to avoid extra pulp.
Do I need a springform pan for this cheesecake?
A springform pan is recommended for easy removal and neat presentation, but you can use any round pan lined with parchment paper for easier release.
PrintNo-Bake Orange Creamsicle Cheesecake Recipe

This No-Bake Orange Creamsicle Cheesecake is a refreshing, creamy dessert that combines the tangy brightness of fresh orange juice and zest with a smooth, luscious cream cheese filling on a buttery graham cracker crust. Perfect for warm days when you crave a chilled, citrusy dessert without the hassle of baking.
- Prep Time: 20 minutes
- Cook Time: 0 minutes
- Total Time: 6 hours 20 minutes
- Yield: 8 servings 1x
- Category: Dessert
- Method: No-Cook
- Cuisine: American
- Diet: Vegetarian
Ingredients
Crust
- 200 g (2 cups) graham cracker crumbs or digestive biscuits
- 75 g (5 tbsp) melted butter
- 2 tbsp granulated sugar
Filling
- 500 g (2 cups) cream cheese, softened
- 1 cup powdered sugar
- 1 cup heavy whipping cream, chilled
- 1/3 cup fresh orange juice
- Zest of 1 orange
- 1 tsp vanilla extract
- 1/2 tsp orange extract (optional)
- Orange food coloring (optional)
To Garnish
- Whipped cream
- Orange zest or slices
Instructions
- Prepare the Crust: In a bowl, combine the graham cracker crumbs, melted butter, and granulated sugar. Mix until the mixture resembles wet sand, which ensures the crust will hold together well once pressed.
- Set the Crust: Firmly press the crumb mixture into the bottom of a 9-inch springform pan, creating an even and compact layer. Place the pan in the refrigerator to chill, allowing the crust to set properly as you prepare the filling.
- Make the Cream Cheese Base: In a large mixing bowl, beat the softened cream cheese until smooth and creamy. Gradually add the powdered sugar and continue mixing thoroughly until fully combined.
- Add Flavorings: Slowly incorporate fresh orange juice, orange zest, vanilla extract, and orange extract if using. Mix gently to preserve the bright citrus flavor without overmixing.
- Whip the Cream: In a separate chilled bowl, whip the heavy cream until stiff peaks form. This aeration lightens the filling and adds a creamy texture.
- Combine Mixtures: Gently fold the whipped cream into the cream cheese mixture with care to maintain the airy texture. Optionally add orange food coloring and fold until evenly colored.
- Assemble the Cheesecake: Pour the filling over the chilled crust in your springform pan and smooth the surface with a spatula. Cover tightly with plastic wrap to avoid absorbing other refrigerator odors.
- Chill and Set: Refrigerate the cheesecake for at least 6-8 hours or overnight, allowing it to firm up and the flavors to meld beautifully for the best taste and texture.
- Serve: Carefully remove the cheesecake from the springform pan. Garnish with whipped cream and fresh orange zest or slices for an elegant, refreshing finish. Serve chilled.
Notes
- Make sure the cream cheese is fully softened to avoid lumps in the filling.
- Chilling the crust before adding the filling ensures it stays firm and crisp.
- Use fresh orange juice and zest for the brightest flavor.
- For a more vibrant look, add a few drops of orange food coloring, but this is optional.
- If you prefer a slightly sweeter filling, add an additional 1-2 tablespoons of powdered sugar.
- Keep the cheesecake refrigerated until just before serving for optimal texture.
Keywords: No-Bake Cheesecake, Orange Cheesecake, Creamsicle Dessert, Summer Dessert, Citrus Cheesecake, Quick Cheesecake, No Oven Cheesecake